
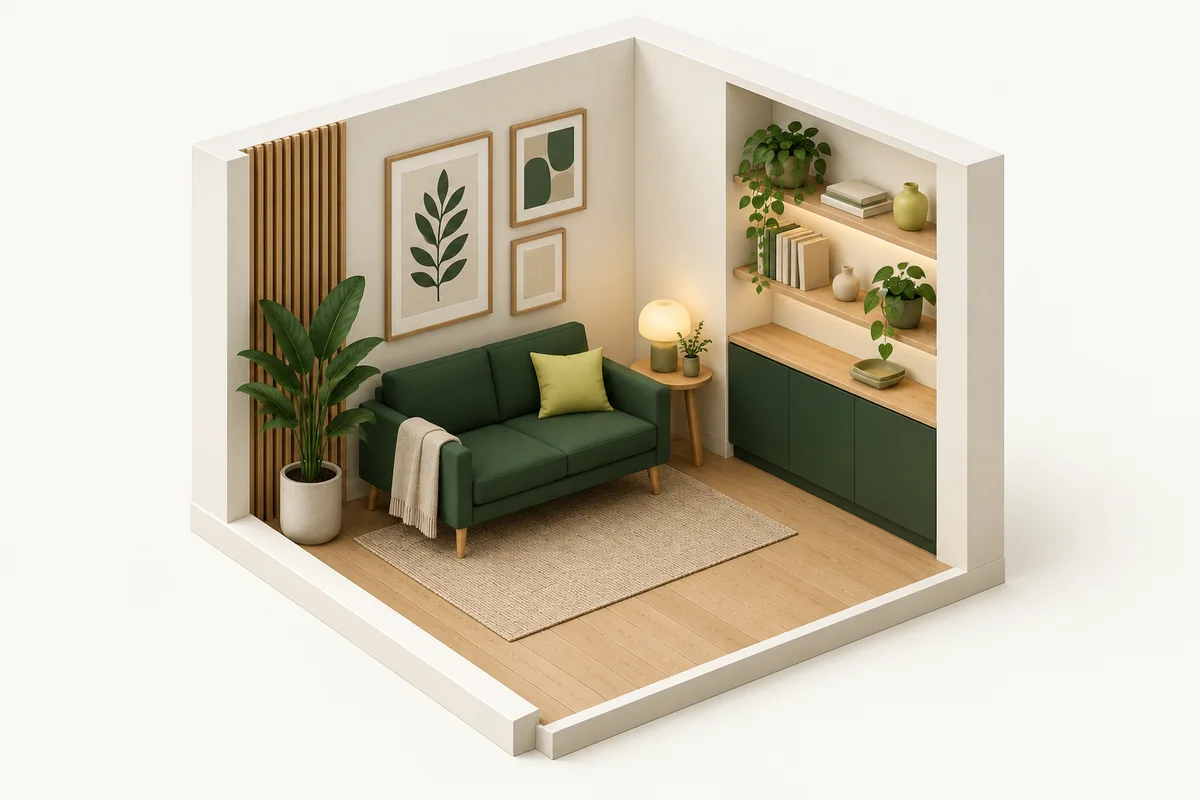
A gallery wall should be measured as one complete composition. The outer dimensions of every frame, every gap, and the relationship to nearby furniture determine whether it fits the room.
The quick answer: Use each frame’s outside dimensions, not the photo size printed on its label. Add every gap to find the overall composition, then transfer each frame’s actual hanger position separately.
Plan these three things first.
Frame labels usually describe the photograph, not the finished object.
02Build the total width and heightAdd frame widths across each row plus every horizontal gap.
03Relate the gallery to the roomCheck the composition against furniture, switches, vents, shelves, doors, and sightlines.
Record true outside dimensions
Frame labels usually describe the photograph, not the finished object. Measure or confirm the full exterior width and height of each frame, including irregular borders or mats, before calculating the layout.
Build the total width and height
Add frame widths across each row plus every horizontal gap. Do the same vertically for rows and gaps. Use the widest row and tallest column as the minimum bounding box, then compare it with the clear wall area.
Relate the gallery to the room
Check the composition against furniture, switches, vents, shelves, doors, and sightlines. A centered gallery may align with the sofa, bed, or console below rather than the entire wall.
Test with paper templates
Cut paper to each frame's outside size, label it, and place the full arrangement with removable tape that is safe for the finish. This makes spacing, scale, and visual balance easier to judge before holes are made.
Map every hanging point
The hook location may sit well below the frame's top edge and can vary between frames. Measure the hardware under tension, transfer each point carefully, and use mounting methods suitable for the wall and frame weight.
Make the decision concrete
Example: three frames need more than three photo widths
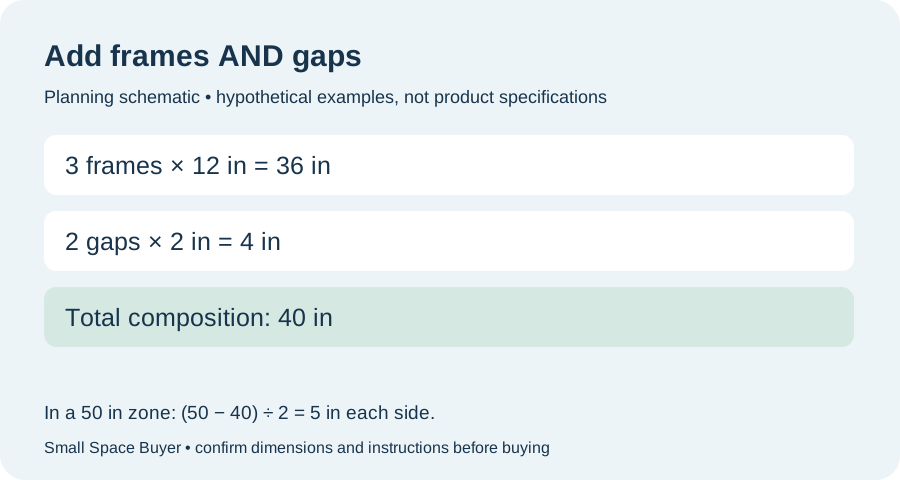
Hypothetical layout: three frames each measure 12 inches across the outside, with two chosen 2-inch gaps. Total width is 12 + 2 + 12 + 2 + 12 = 40 inches. Centered within a 50-inch clear zone, that leaves 5 inches on either side. The 2-inch gap is a design choice, not a rule. Measure height independently and use paper templates to check the complete arrangement. If a frame’s top is at 66 inches and its tensioned hanger is 3 inches below the top, the hanging point is at 63 inches; do not place the hook at the frame’s top edge.
| Check | Record | Watch for |
|---|---|---|
| Frame size | Outside width and height of every frame | Photo size substituted for frame size |
| Composition | Widest row, total height and each gap | Uneven layout exceeds the chosen zone |
| Alignment | Chosen centerline relative to furniture | Wall center differs from furniture center |
| Hanging points | Offset under tension for each frame | One hook offset copied to every frame |
Try your measurements
Check one dimension at a time
Use the same direction for all three inputs: width, depth or height. Add all required extra space on that axis, including movement and manufacturer clearance. Repeat for the other axes and check obstructions separately.
Enter all three measurements. Leave required extra space blank if it is unknown; do not assume zero.
Available space − product body − required extra space = space remaining
See the measurements
Real products to compare with your space
These examples make the size tradeoffs easier to see. Open a product page for the complete fit verdict, setup notes, and retailer options.
Mainstays 47482385
A simple, low-cost 8 × 10 tabletop display
View fit detailsMainstays 155950405
A narrow traditional frame when wall projection must stay minimal
View fit detailsUmbra Prisma 5 × 7
A decorative small-photo frame that can move between a wall and tabletop
View fit detailsDo this before placing the order.
- Measure the destination. Include the full usable width, depth, height, and every fixed obstruction.
- Measure the working position. Add door, lid, hose, ventilation, loading, and walking clearance.
- Measure the route. Check doors, halls, stairs, elevators, corners, and the storage opening.
- Verify the exact model. Compare the manufacturer documentation with the listing before buying.
What this guide cannot decide
This guide cannot verify wall condition, concealed utilities, fastener capacity, paint compatibility, or the safety of a specific hanging method.