
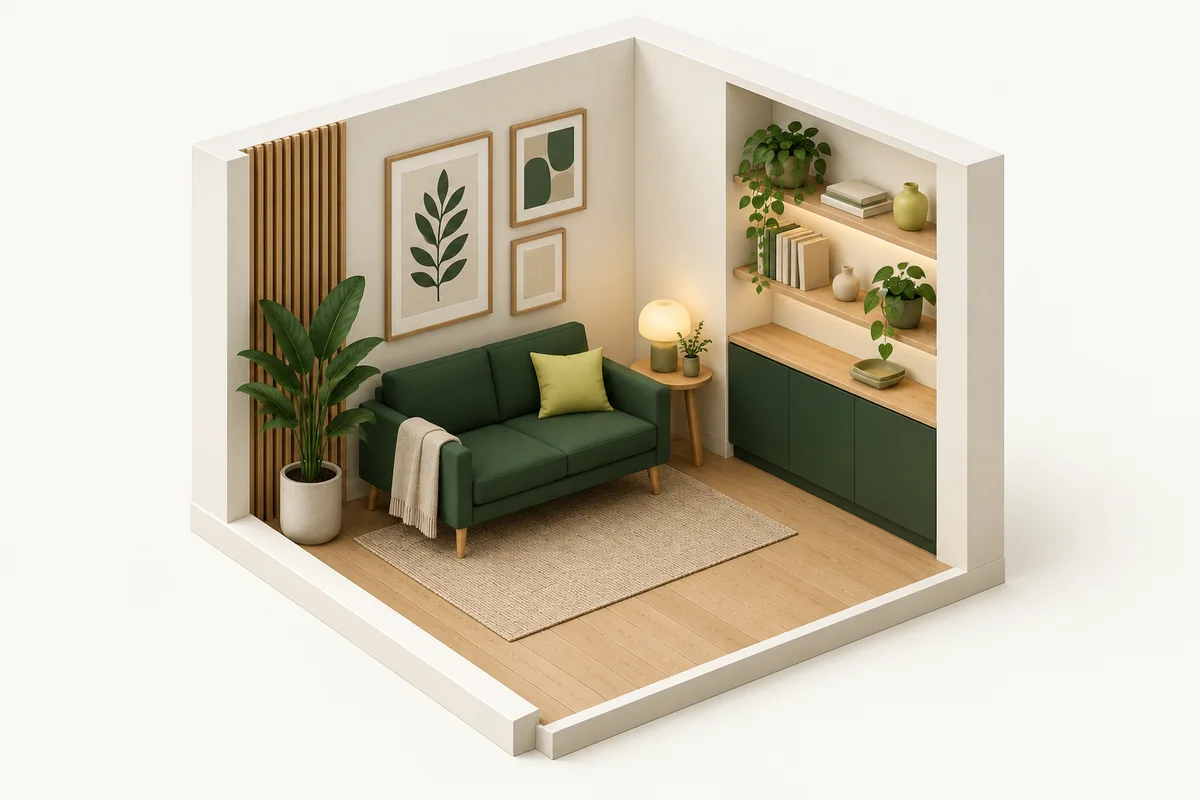
Wall products save floor space only when the finished installation is safe, usable, visually balanced, and permitted in the home.
The quick answer: Plan the visual composition with outside dimensions and plan mounting with the actual wall and hardware. Neither frame size nor shelf depth proves load capacity.
Plan these three things first.
Frame photo size and shelf length are not the complete installed size.
02Calculate the total supported loadInclude the shelf or frame plus every object placed on it.
03Protect movement and headroomKeep projected shelves away from narrow walkways, beds, seating, doors, windows, thermostats, panels, and locations where someone may stand up beneath them.
Use outside dimensions
Frame photo size and shelf length are not the complete installed size. Compare the full width, height, projection, brackets, and nearby trim. Mark the outline with removable tape before committing to placement.
Calculate the total supported load
Include the shelf or frame plus every object placed on it. Weight ratings depend on the specified hardware, wall material, installation method, and correct number of attachment points. Do not assume an anchor rating transfers unchanged to every wall.
Protect movement and headroom
Keep projected shelves away from narrow walkways, beds, seating, doors, windows, thermostats, panels, and locations where someone may stand up beneath them. Consider how items will be placed and removed.
Plan for rental walls
Adhesive products have their own surface preparation, cure time, weight, removal, and wall-finish limits. Screw-mounted products may require permission and repairs. Follow the exact mounting instructions and building rules rather than improvising a damage-free method.
Make the decision concrete
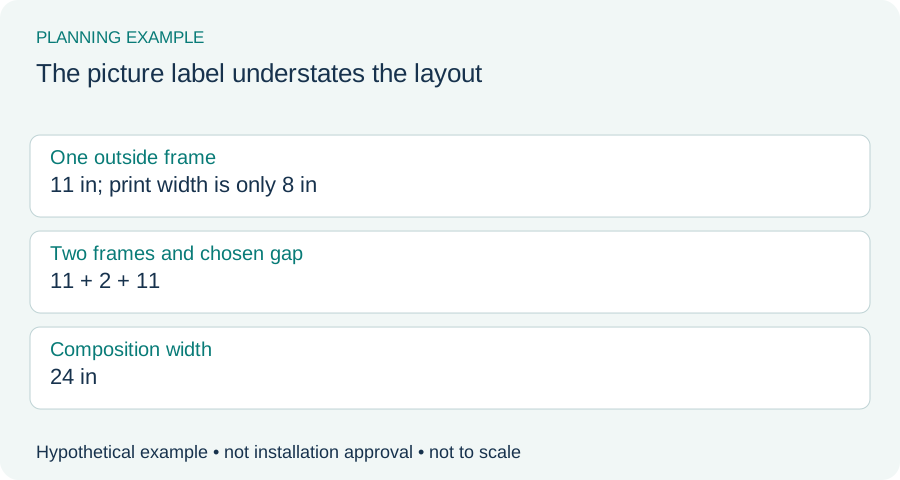
Example: the picture label understates the layout
Hypothetical framed picture: the print is 8 inches wide, but the outside frame is 11 inches. Two frames with a chosen 2-inch gap need 24 inches across, not 18 inches. Mark the complete layout with paper templates, then locate the actual hangers. Check shelf projection and the intended loads separately before selecting hardware.
| Check | Record | Watch for |
|---|---|---|
| Composition | Outside edges and chosen gaps | Print dimensions used as frame dimensions |
| Projection | Shelf depth and objects extending beyond it | Only the bare shelf measured |
| Mounting | Wall material, fasteners and product instructions | Adhesive or anchor capacity guessed |
Try your measurements
Check one dimension at a time
Use the same direction for all three inputs: width, depth or height. Add all required extra space on that axis, including movement and manufacturer clearance. Repeat for the other axes and check obstructions separately.
Enter all three measurements. Leave required extra space blank if it is unknown; do not assume zero.
Available space − product body − required extra space = space remaining
See the measurements
Real products to compare with your space
These examples make the size tradeoffs easier to see. Open a product page for the complete fit verdict, setup notes, and retailer options.
Mainstays 47482385
A simple, low-cost 8 × 10 tabletop display
View fit detailsMainstays 155950405
A narrow traditional frame when wall projection must stay minimal
View fit detailsUmbra Prisma 5 × 7
A decorative small-photo frame that can move between a wall and tabletop
View fit detailsDo this before placing the order.
- Measure the destination. Include the full usable width, depth, height, and every fixed obstruction.
- Measure the working position. Add door, lid, hose, ventilation, loading, and walking clearance.
- Measure the route. Check doors, halls, stairs, elevators, corners, and the storage opening.
- Verify the exact model. Compare the manufacturer documentation with the listing before buying.
What this guide cannot decide
This guide cannot identify hidden wiring or plumbing, verify a wall structure, select anchors for an unknown material, or authorize alterations in a rental.