
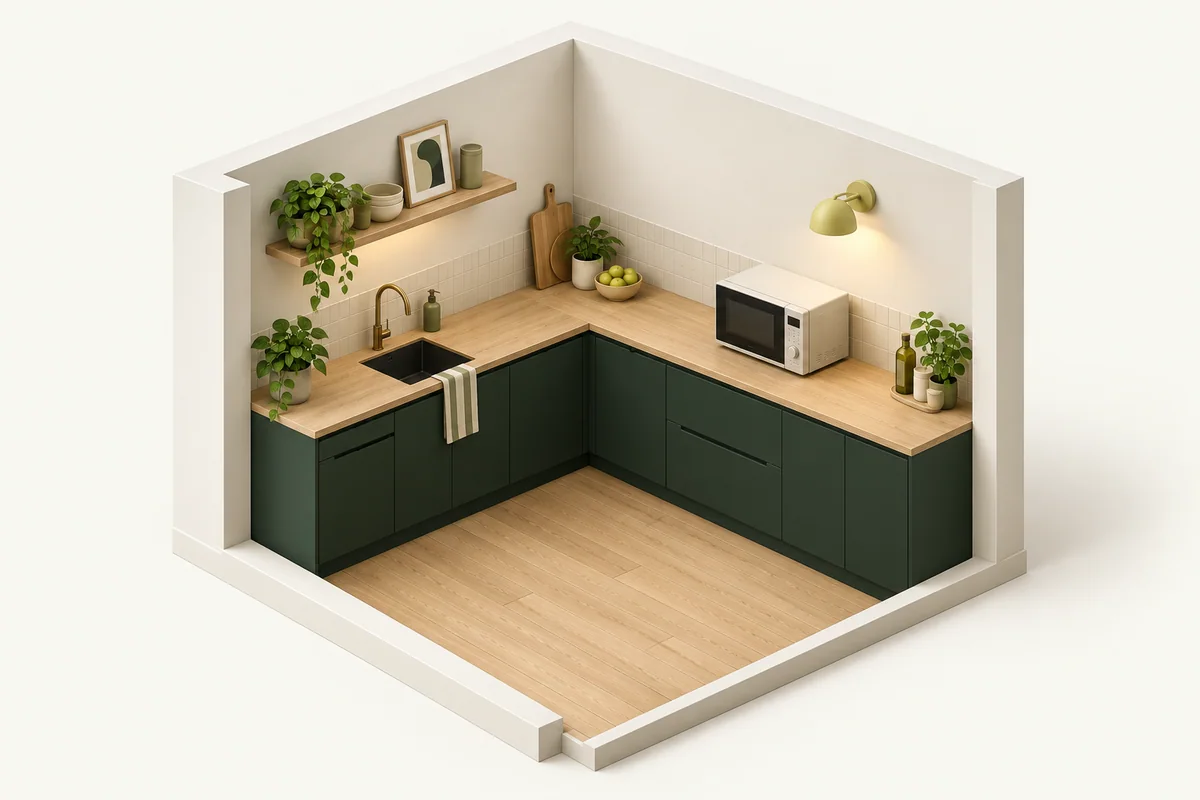
Microwave capacity describes the cooking cavity, not the amount of countertop it consumes. Exterior depth, rear clearance, the plug, the supporting feet, and the open door determine whether a model works in a small kitchen.
The quick answer: Compare exterior dimensions, full support beneath the feet, ventilation requirements and the open door. A microwave’s cooking capacity does not tell you how much counter it needs. Keep a usable place nearby to set down a hot dish.
Plan these three things first.
Compare the full cabinet depth rather than cubic-foot capacity.
02Open the door before decidingMeasure the door swing against side walls, tall cabinets, refrigerators, and nearby appliances.
03Protect the ventilation pathCountertop microwaves release heat and need the exact clearances stated by their manufacturer.
Start with exterior depth
Compare the full cabinet depth rather than cubic-foot capacity. Add the rear and side clearance stated in the manual, plus realistic space for the cord and plug. Confirm that every supporting foot remains fully on the counter. A microwave that overhangs the worktop or is pushed against a wall to make the numbers fit is not a successful small-space choice.
Open the door before deciding
Measure the door swing against side walls, tall cabinets, refrigerators, and nearby appliances. Leave room for a hand to use the release button or handle and for a hot dish to move safely between the cavity and counter. The open door should not block a burner, sink, main walkway, or required access to another appliance.
Protect the ventilation path
Countertop microwaves release heat and need the exact clearances stated by their manufacturer. Fitting below an upper cabinet does not prove the machine can operate safely there. Do not place a freestanding countertop model inside a closed cabinet or shelf unless its instructions explicitly allow that installation.
Match the cavity to real dishes
Check turntable diameter and usable interior height against the plates, bowls, mugs, and containers normally used. A small exterior footprint is valuable only when the usual dish can rotate without hitting the cavity. Shoppers who cook rather than only reheat may need to trade a little counter depth for higher wattage and more usable interior room.
Keep working counter space
Mark the microwave footprint with tape and test what remains for food preparation, grocery bags, and landing hot dishes. If the appliance must be stored between uses, measure its storage location and lifting path as carefully as its operating position. Confirm the outlet and circuit requirements in the manual and avoid improvised power arrangements.
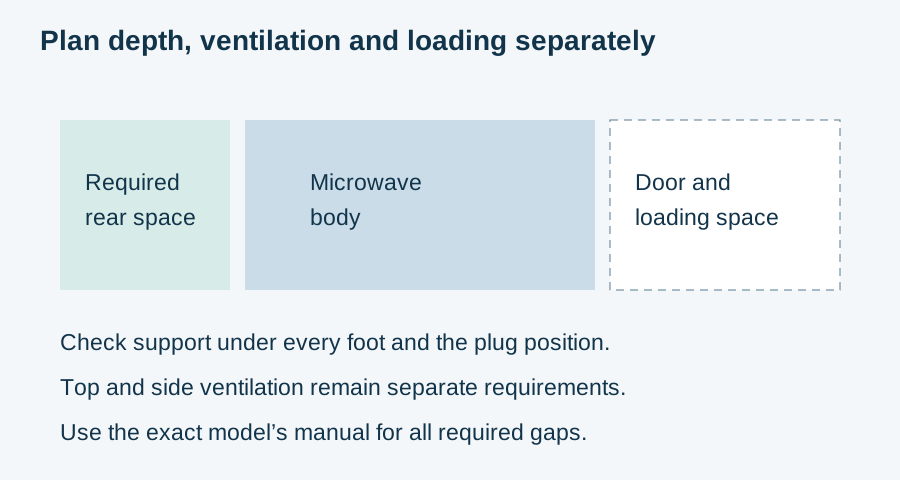
Make the decision concrete
Example: the counter is deeper than the body, but still too shallow
Hypothetical figures: the counter is 20 inches deep, the microwave body is 17 inches deep and the specified rear gap for this imaginary example is 4 inches. Body plus rear gap would need 21 inches, so the depth check fails before considering door and loading space. Use your actual model’s manual, not this example’s gap. Confirm where the feet sit, how the plug routes and whether the intended installation is permitted.
| Check | Record | Watch for |
|---|---|---|
| Body and feet | Exterior depth and supporting-foot positions | Capacity used as a size measurement |
| Ventilation | Manual’s rear, top and side requirements | Appliance pushed back to force a fit |
| Door and dishes | Door travel and usual dish dimensions | Hot dish has no clear landing spot |
| Installation | Model allows intended counter or shelf location | Countertop model enclosed without approval |
Try your measurements
Check one dimension at a time
Use the same direction for all three inputs: width, depth or height. Add all required extra space on that axis, including movement and manufacturer clearance. Repeat for the other axes and check obstructions separately.
Enter all three measurements. Leave required extra space blank if it is unknown; do not assume zero.
Available space − product body − required extra space = space remaining
See the measurements
Real products to compare with your space
These examples make the size tradeoffs easier to see. Open a product page for the complete fit verdict, setup notes, and retailer options.
Midea MMC07S2AWW
The smallest microwave footprint and simple reheating
View fit detailsCOMFEE' EM720CPL-PMB
Budget-conscious shoppers who want a compact microwave with a mute option
View fit detailsBLACK+DECKER EM720CB7
A familiar stainless-look compact microwave for light daily use
View fit detailsDo this before placing the order.
- Measure the destination. Include the full usable width, depth, height, and every fixed obstruction.
- Measure the working position. Add door, lid, hose, ventilation, loading, and walking clearance.
- Measure the route. Check doors, halls, stairs, elevators, corners, and the storage opening.
- Verify the exact model. Compare the manufacturer documentation with the listing before buying.
What this guide cannot decide
This guide cannot verify ventilation, electrical capacity, shelf strength, heat exposure, or safe installation for a particular microwave and kitchen.