
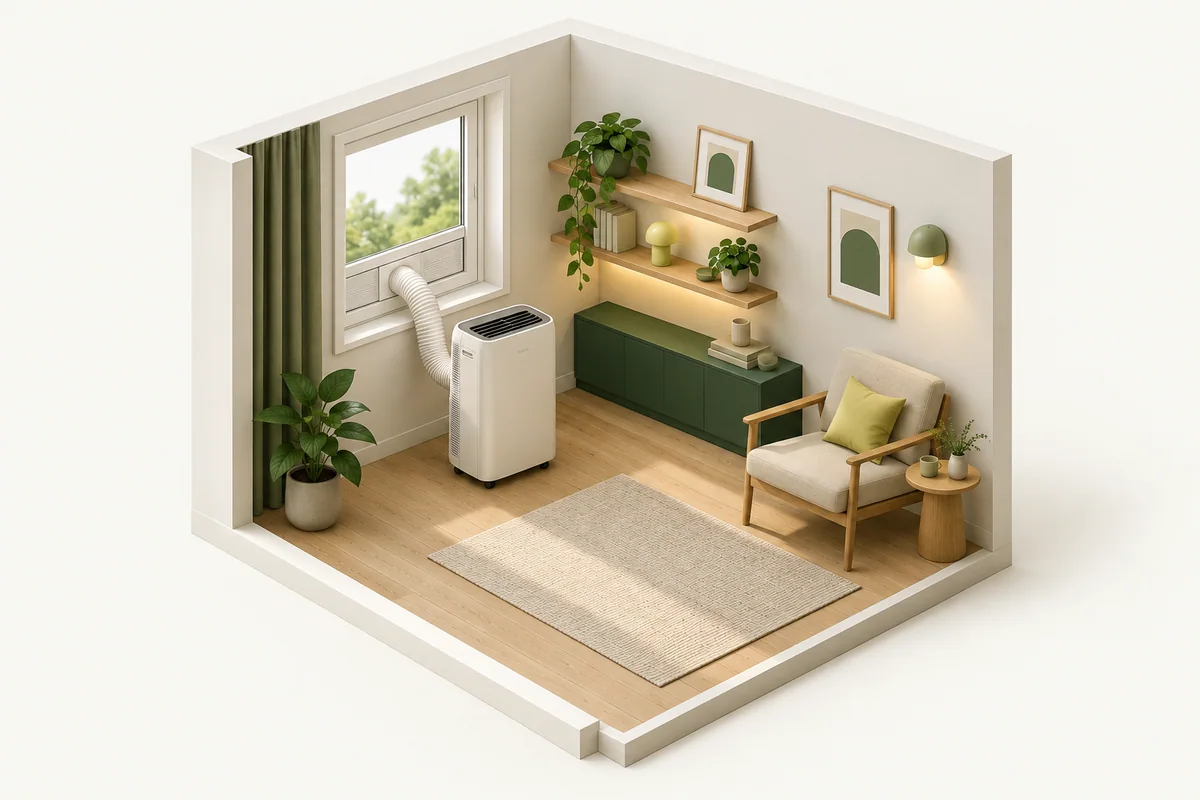
A portable air conditioner is only portable within reach of a suitable exhaust opening. The window kit, hose path, floor position, condensate plan, and electrical supply all need to work before room-size claims matter.
The quick answer: Start with the window type and the exact panel kit, then measure the permitted exhaust-hose route to a usable floor position. A small cabinet and a large cooling rating cannot compensate for an incompatible window.
Plan these three things first.
Most included kits are designed around a specific vertical or horizontal sliding-window arrangement.
02Compare the opening with the panel rangeCheck the exact kit's minimum and maximum adjustable length rather than assuming that every portable AC includes the same panels.
03Plan the hose route and floor positionMeasure from the exhaust connection on the appliance to the window panel in the intended operating position.
Identify the window type first
Most included kits are designed around a specific vertical or horizontal sliding-window arrangement. Casement, awning, crank-out, unusually deep, or very narrow windows may need a different manufacturer-approved solution. Record how the window opens, the clear opening width and height, frame depth, screen position, lock location, and any trim that prevents a flat panel seal.
Compare the opening with the panel range
Check the exact kit's minimum and maximum adjustable length rather than assuming that every portable AC includes the same panels. Include extensions, fasteners, foam seals, and the exhaust-port location. The assembled panel must sit securely without preventing an emergency exit or violating lease, building, association, or local requirements.
Plan the hose route and floor position
Measure from the exhaust connection on the appliance to the window panel in the intended operating position. Keep the hose within the length and bend limits in the manual. Add the cabinet footprint, rear clearance, hose bend, caster movement, and space needed to reach filters, controls, and the water drain. A sharp bend or crushed hose restricts the exhaust path.
Seal the opening and plan for water
Use the supplied or approved sealing materials so outdoor air, rain, and insects do not bypass the panel. Portable units also manage condensate differently depending on humidity and operating mode. Identify the drain port, required hose or collection routine, and a safe destination before humid weather creates an unexpected shutdown or spill.
Then compare cooling capacity and power
Use the current DOE or SACC capacity shown for the model and the manufacturer's room-size guidance. Strong sun, high ceilings, open doorways, kitchens, poor insulation, and heat-producing equipment can increase the cooling load. Confirm the required outlet and circuit, keep the air intake clear, and follow the manual rather than using an unapproved extension cord.
Make the decision concrete
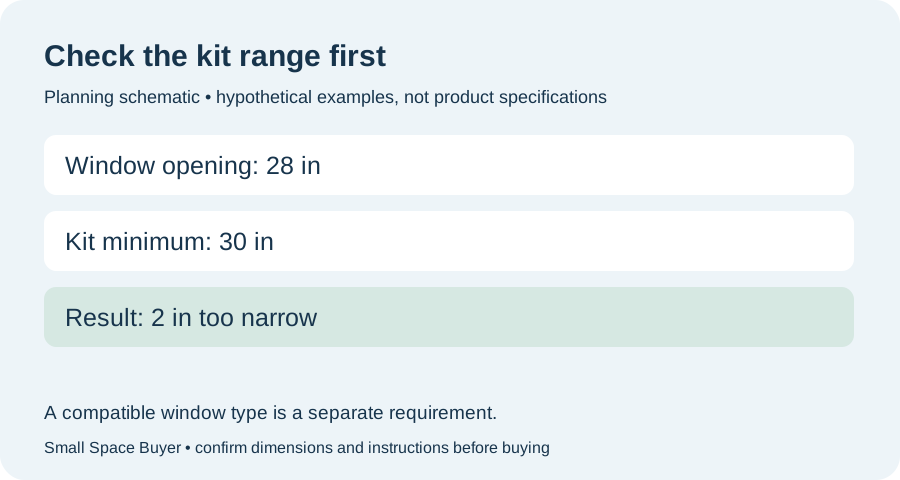
Example: the room fits the AC, but the panel does not
Hypothetical measurements: your clear window opening is 28 inches, while the supplied panel adjusts from 30 to 48 inches. The opening is 2 inches below the minimum, so the supplied kit fails this check. Do not assume you can trim it: confirm a manufacturer-approved alternative or permitted adjustment. A compatible panel still leaves the hose route, sealing, floor clearances, drainage, power and access to check. These numbers are not specifications for a real kit.
| Check | Record | Watch for |
|---|---|---|
| Window | Opening type, clear opening and frame depth | Panel intended for another window type |
| Kit range | Exact assembled minimum and maximum | Opening outside range; unapproved cutting |
| Hose route | Connection-to-connection path and allowed bends | Crushed hose or unapproved extension |
| Daily access | Filter, drain, controls and window access | Setup blocks required access |
Try your measurements
Check one dimension at a time
Use the same direction for all three inputs: width, depth or height. Add all required extra space on that axis, including movement and manufacturer clearance. Repeat for the other axes and check obstructions separately.
Enter all three measurements. Leave required extra space blank if it is unknown; do not assume zero.
Available space − product body − required extra space = space remaining
Check the original instructions
Danby portable AC installation overviewGeneral manufacturer setup guidance, not a panel-range or hose-length specification. Use the manual for your exact model and kit. Reference checked September 8, 2026.
See the measurements
Real products to compare with your space
These examples make the size tradeoffs easier to see. Open a product page for the complete fit verdict, setup notes, and retailer options.
BLACK+DECKER BPT08WTB
Very small rooms where floor footprint matters most
View fit detailsHisense AP0525CR1W
Bedrooms and offices around 150 square feet
View fit detailsLG LP0621WSR
Bedrooms and medium rooms needing a balanced size-to-cooling ratio
View fit detailsDo this before placing the order.
- Measure the destination. Include the full usable width, depth, height, and every fixed obstruction.
- Measure the working position. Add door, lid, hose, ventilation, loading, and walking clearance.
- Measure the route. Check doors, halls, stairs, elevators, corners, and the storage opening.
- Verify the exact model. Compare the manufacturer documentation with the listing before buying.
What this guide cannot decide
This guide cannot approve a window modification, emergency-egress change, electrical circuit, drainage method, room-size calculation, lease rule, or installation for a specific portable AC.