
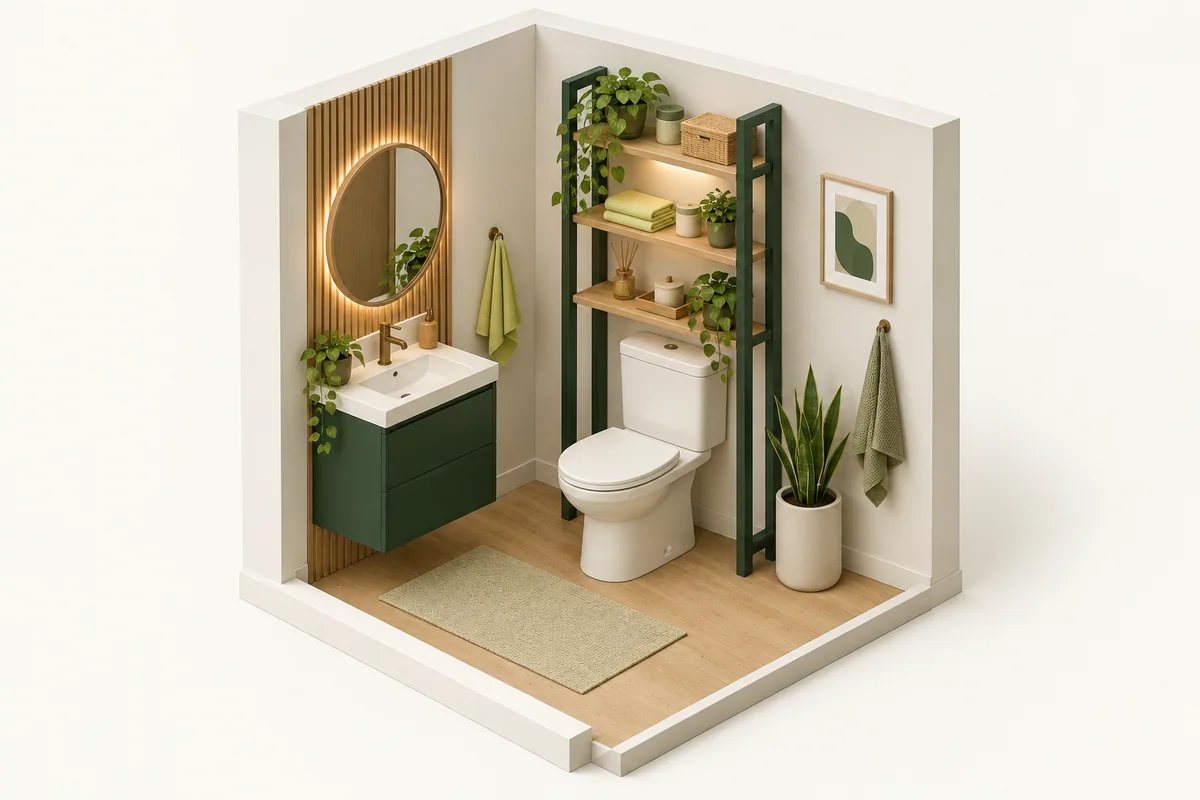
The toilet is not a static box. Its tank lid, flush control, water connection, cleaning area, and service path all need to remain usable after storage is installed above it.
The quick answer: Measure the clear opening inside the storage frame, not its outside width. Keep room to lift and remove the tank lid, operate the flush control and reach the water shutoff. Confirm lower-brace position before ordering.
Plan these three things first.
Record the toilet's widest point, floor-to-tank height, lid size, flush control, and distance from the wall.
02Preserve tank and valve accessLift the tank lid through the full removal path and locate the supply valve and hose.
03Map the room around itMeasure baseboard depth, ceiling height, towel bars, vents, windows, electrical devices, and all nearby door swings.
Measure the fixture envelope
Record the toilet's widest point, floor-to-tank height, lid size, flush control, and distance from the wall. Include any top button or side lever that needs hand clearance.
Preserve tank and valve access
Lift the tank lid through the full removal path and locate the supply valve and hose. Storage legs, lower braces, and shelves should not prevent shutoff, inspection, cleaning, or basic service.
Map the room around it
Measure baseboard depth, ceiling height, towel bars, vents, windows, electrical devices, and all nearby door swings. A cabinet door above the toilet also needs clear space to open.
Check the unit's inner opening
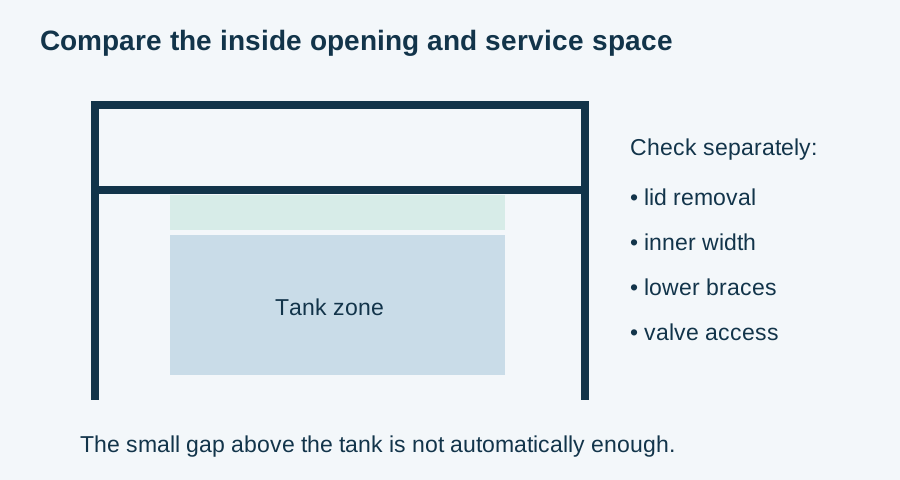
Compare the product's clear width and height between legs and below the first fixed shelf with the toilet measurements. Outside width alone does not show whether the tank fits inside the frame.
Plan leveling and wall attachment
Bathroom floors and walls may be uneven or moisture-exposed. Follow the unit's instructions for feet, braces, wall restraint, materials, and load placement. Do not rest the frame on the toilet.
Make the decision concrete
Example: the shelf clears the tank but blocks the lid
Hypothetical measurements: the tank top is 30 inches above the floor and the first fixed shelf is at 32 inches. The 2-inch difference is not automatically enough to lift and angle the tank lid out. Measure the real removal motion and include top-mounted flush buttons if present. Also compare the unit’s inner width and lower-brace position with the tank and water connection. A frame that looks wide enough in a product photo can still block service.
| Check | Record | Watch for |
|---|---|---|
| Inner opening | Width between legs and height below shelf | Outside dimensions mistaken for clear opening |
| Tank lid | Lift and removal motion with shelf in place | Lid trapped under shelf |
| Shutoff and brace | Valve reach and exact crossbar position | Brace covers the supply connection |
| Room and restraint | Baseboards, wall attachment and open doors | Unit rests on toilet or cannot be secured |
Try your measurements
Check one dimension at a time
Use the same direction for all three inputs: width, depth or height. Add all required extra space on that axis, including movement and manufacturer clearance. Repeat for the other axes and check obstructions separately.
Enter all three measurements. Leave required extra space blank if it is unknown; do not assume zero.
Available space − product body − required extra space = space remaining
See the measurements
Real products to compare with your space
These examples make the size tradeoffs easier to see. Open a product page for the complete fit verdict, setup notes, and retailer options.
Zenna Home 2265NN
The smallest open bathroom storage footprint in this department
View fit detailsMainstays Three-Shelf Spacesaver
Budget bathroom storage with quick access to towels and toiletries
View fit detailsZenna Home Adjustable Drop-Door
Mixed display and hidden storage with adjustable toilet-tank clearance
View fit detailsDo this before placing the order.
- Measure the destination. Include the full usable width, depth, height, and every fixed obstruction.
- Measure the working position. Add door, lid, hose, ventilation, loading, and walking clearance.
- Measure the route. Check doors, halls, stairs, elevators, corners, and the storage opening.
- Verify the exact model. Compare the manufacturer documentation with the listing before buying.
What this guide cannot decide
This guide cannot verify wall structure, moisture suitability, plumbing access, fastening, renter permission, or safe installation in a specific bathroom.